This blog is now over 7 years old and over these years a lot of what I have written about in the initial years has evolved – things like interior design practices, new materials available in the market for home interiors, cost of materials, places to shop for interior work etc. Also, while on this 7 year journey even I have learnt through customers, your own feedback through this blog and my practice in Bangalore.
I am therefore updating some of the most read and relevant articles on this blog so that these reflect the interior design best practices and needs of today incorporating the best of what I have learnt as a practicing Interior Designer in Bangalore over the last 7 years.
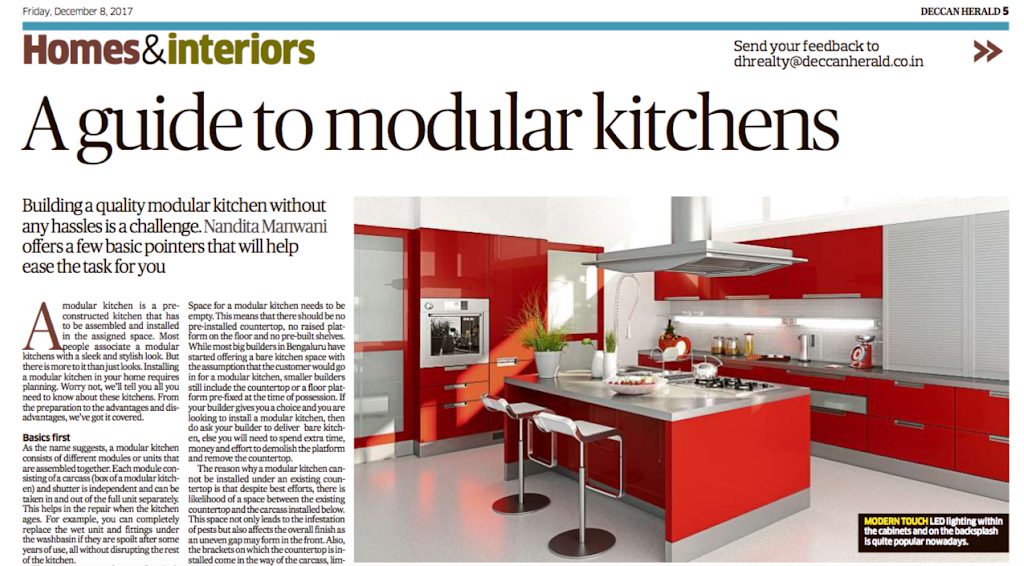
In the first of this series of articles…am calling it the “DIY Interior Designer Series”… below is the updated article on Sliding Door Wardrobe design best practices – this has been among the most read and commented article on this blog and also got featured in Deccan Herald’s Homes & Interiors supplement today…read on
Sliding Door Wardrobes – DIY & Do it Right
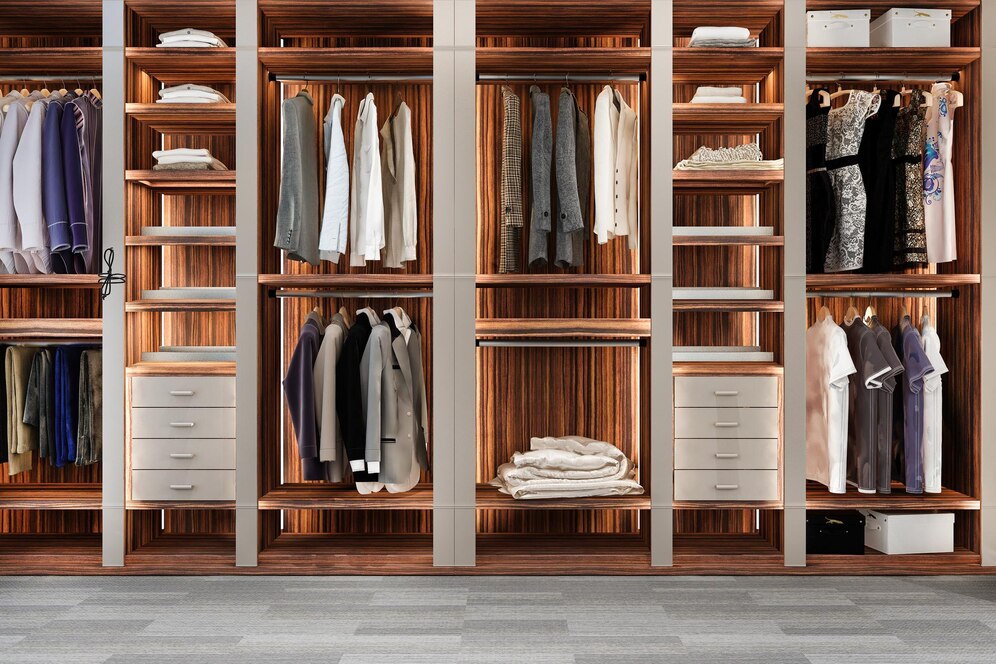
Sliding door wardrobes for homes are the in thing nowadays not only for their look but also for the space they save especially in case of small room sizes.
In our article today we will go through some design principles for sliding wardrobe design that not only ensure the look but also longevity, ease of use as well as safety. You may wonder where does safety come into this – give it a few more minutes and you will know.
1. The Sliding Mechanism/ Hardware
Sliding wardrobe doors must ALWAYS run on slide fittings having wheels on the TOP of the shutter and NOT at the BOTTOM of the shutter. This means that the door hangs and rolls on the runner on the TOP of the wardrobe.
While Top Running hardware is more expensive, it comes recommended for wardrobe shutters because
A) Since the door hangs from the top it is in “tension” and there is little chance of the door getting warped. In bottom running systems the weight of the door, now on the door itself, can cause it to bend over time.
B) Bottom running systems (the not recommended ones but cheaper) have a tiny “guide” on the top of the shutter. If the shutter warps then the whole door can fall off as the “guide may come out of its socket on the top” causing both heartache and injury. This cannot happen in a Top Running sliding system. And
C) Bottom running systems get sluggish over time as dirt gets accumulated in the bottom channel in which the wheel is running making the door difficult to slide – remember the struggle with sliding glass shutters of yesteryear “showcases” that always used to get jammed?
2. Choosing the Material for the sliding door
While deciding the material for the sliding shutters there are two key considerations to keep in mind
a) A material/ design that offers the maximum resistance to warp/ bend
b) Material and design that minimizes the weight of the shutter, at the same time not compromising the ergonomics and the look
One of the simplest ways to ride both the constraints above is to mount 6 mm sheets of Ply, MDF or glass on an aluminum frame to make the shutter. This ensures low door weight and offers maximum bend resistance along with the flexibility of colours and material for your desired look. On the flip side however framed shutters work out to be more expensive than conventional ones.
For plane doors one can also go in for shutters 19mm block board, remember that block board is recommended over plywood or MDF for long panel shutters (7 to 9 feet) as its bend resistance is the best compared to MDF, HDF or Ply.
For plane doors of over 7 feet it is also recommended to install a door stiffener within the shutter. This is a piece of hardware that is unfortunately not very well known but is readily available in the market and helps improve the overall bend resistance of the shutter.
3. Keeping the dust out
Sliding door wardrobes have an inherent weakness against their hinged counterparts in that dust creeps into them via the open spaces between the two sliding doors and between the carcass and the shutter especially on the top. Hence dust proofing has to be planned for at the design stage itself.
One needs to install a brush strip in the tiny space between the 2 doors all the way from the top to the bottom. This prevents dust getting into the wardrobe and messing around with your “trousseau”. For covering the gaps on top of the wardrobe there are dust blocking pelmets available from hardware vendors that can be used.
4. No Locks:
Sliding doors WITH locks stand a risk of damaging the wardrobe if the door bangs on the side with the lock engaged. Also the keys (if not taken out) tend to get stuck when the doors overlap in the open position. Hence it is best to do away with the lock itself. If you still need to keep things away from a privy eye then a lockable compartment or drawer within the wardrobe is recommended
5. Avoid that door bang and finger injury
Sliding door wardrobes are notorious for pinching fingers the wrong way as well as closing with a shaking loud bang. To avoid both injury and accident one must insist on soft close mechanisms that are available as optional with sliding door hardware. Also ensure that the mechanism is installed by a trained carpenter. If you don’t have one then get help from the hardware company who have specialist carpenters on their roles who are available for support.
That does it I guess, enough to give you bragging rights when you go checking out those sliding wardrobes in the market or at your neighbors’ place
Happy homemaking
Signing off
Nandita
















8 thoughts on “The DIY Interior Designer Series Bangalore: Home Interior Design Best Practices Revisited”
Hi Nandita
We are in search of options for kitchen slabs and came across engineered marble which are available in shops like stonearts. We liked the slab which are cheaper than korian but have doubt on durability and strength for indian cooking as we have little knowledge on it. Please give us advise whether we can go with it or not
And one more doubt are 18mm or 16mm kitchen slabs are good to use considering durability and strength
Your reply will help us a lot. Thanks
Hi…do u do work in hyderabad? If not can you suggest some good interior designer in hyderabad?
Hi Nandita,
I checked the material cost for BWR Garjun ply which is 70-79 /- per sq . ft .
Now i am preparing a budget for the bedroom and the kitchen .
lets say,
I plan to cover one side of bedroom wall with storage.
7ft ( height)X 8.5'(length) with shutters and rest of the top
3ft ( height)X 8.5 '(length) with shutters
planning to just go with shutters
in the above case:
59.5 sq ft + 25.5 sq ft = 85 sq ft
So total ply material needed would be 85 sq ft
We get 8X4 sq ft sheet which means : 3 sheets of 8X4 plyboard sheets
total cost of wood ply: 85x 75 per sq ft = Rs. 6375/-
Questions:
1)Is above calculation correct?
2)Now I need to add labor rate + hinges+ door handle+ laminate sheet price
3)Please mention how labor rate is calculated if its box method or shutter method.
4)Also in box method the material will also double?
Thanks in advance.
Ekta
Ekta – Refer http://www.homedesignbangalore.com/2010/08/costing-your-woodwork-do-it-yourself
Anu – I restrict myself to Bangalore. Also dont know anyone in Hyderabad who can help…sorry
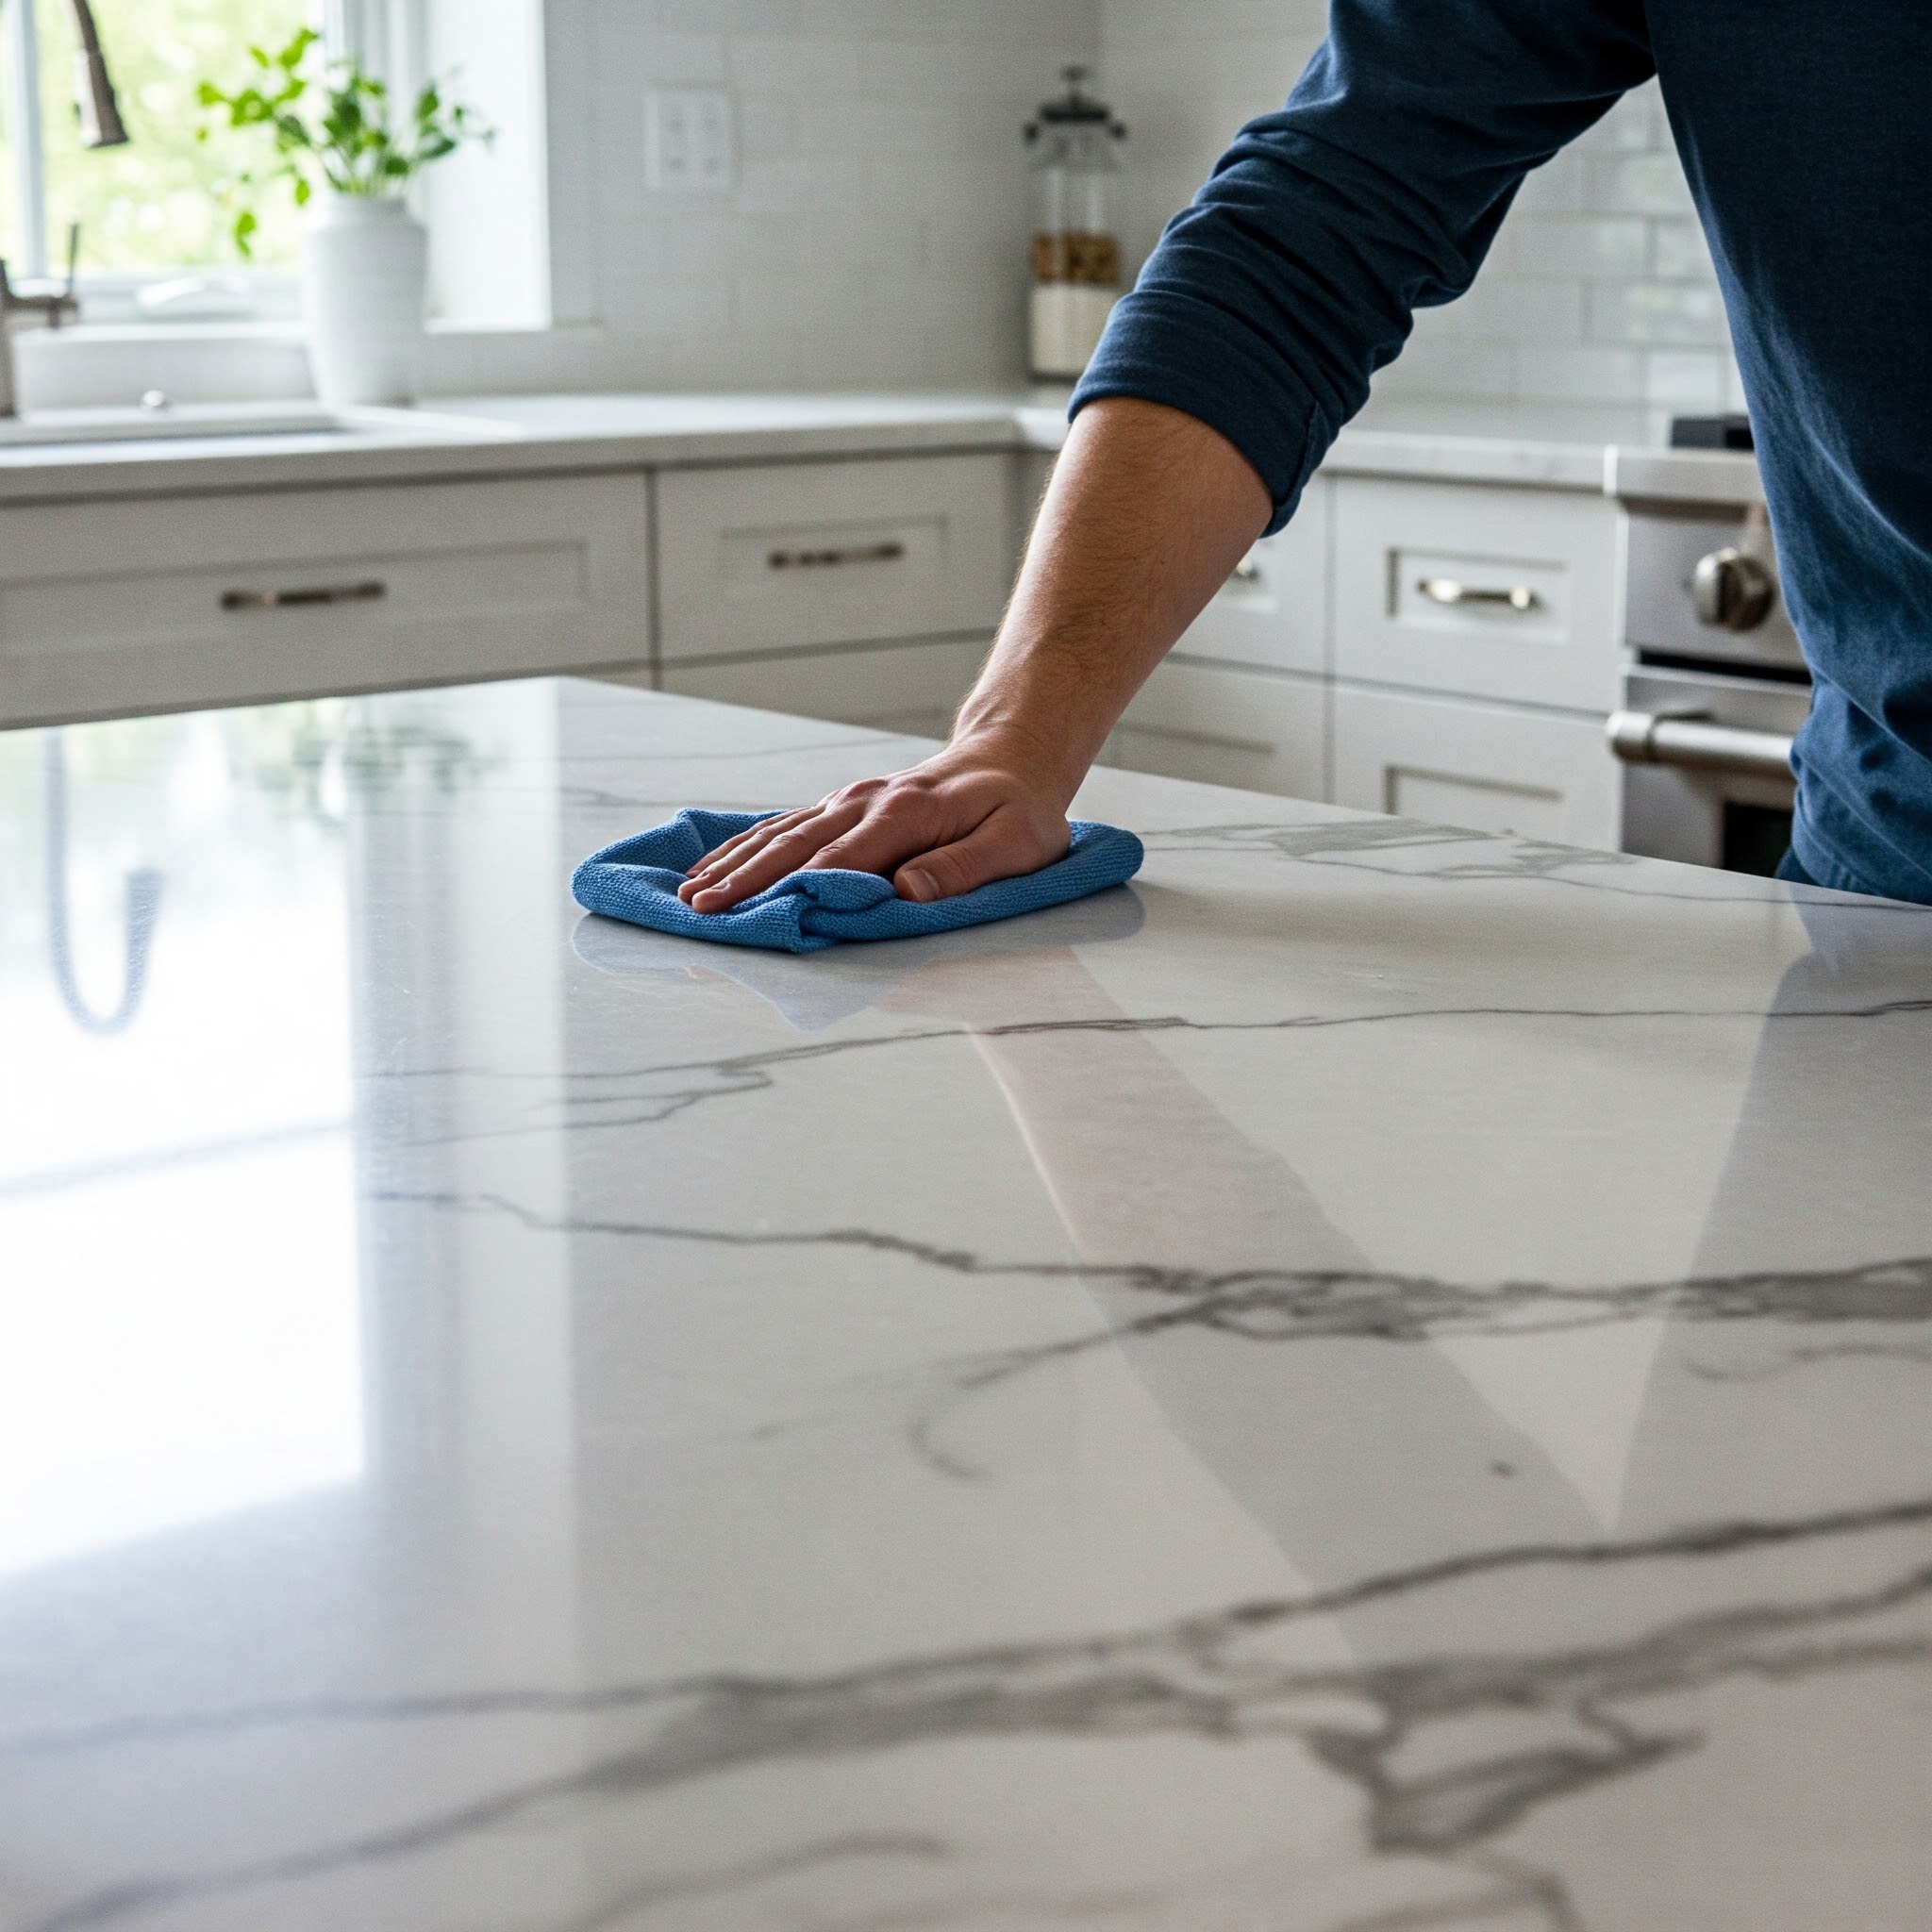
Engineered stone is ok to use for Kitchen Countertops. You may also check Kalinga Stone.
For Kitchen I will recommend 18mm, that will also help with thicker edges (double edges) that look good
Rgds
Nandita
Hi Nandita,
Which company is good for sliding door
I am not sure if you will get stand alone sliding doors since most vendors do complete sliding door wardrobes.
Sliding door vendors are numerous nowadays …including Nolte, Home Center and my own company (The Studio).
Rgds
NM