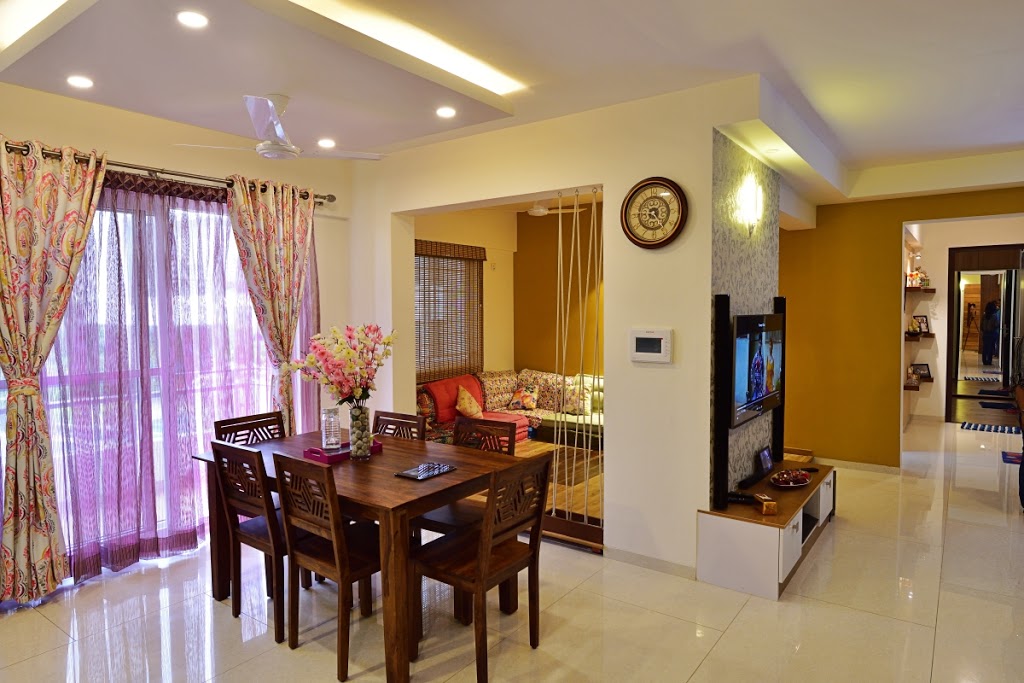
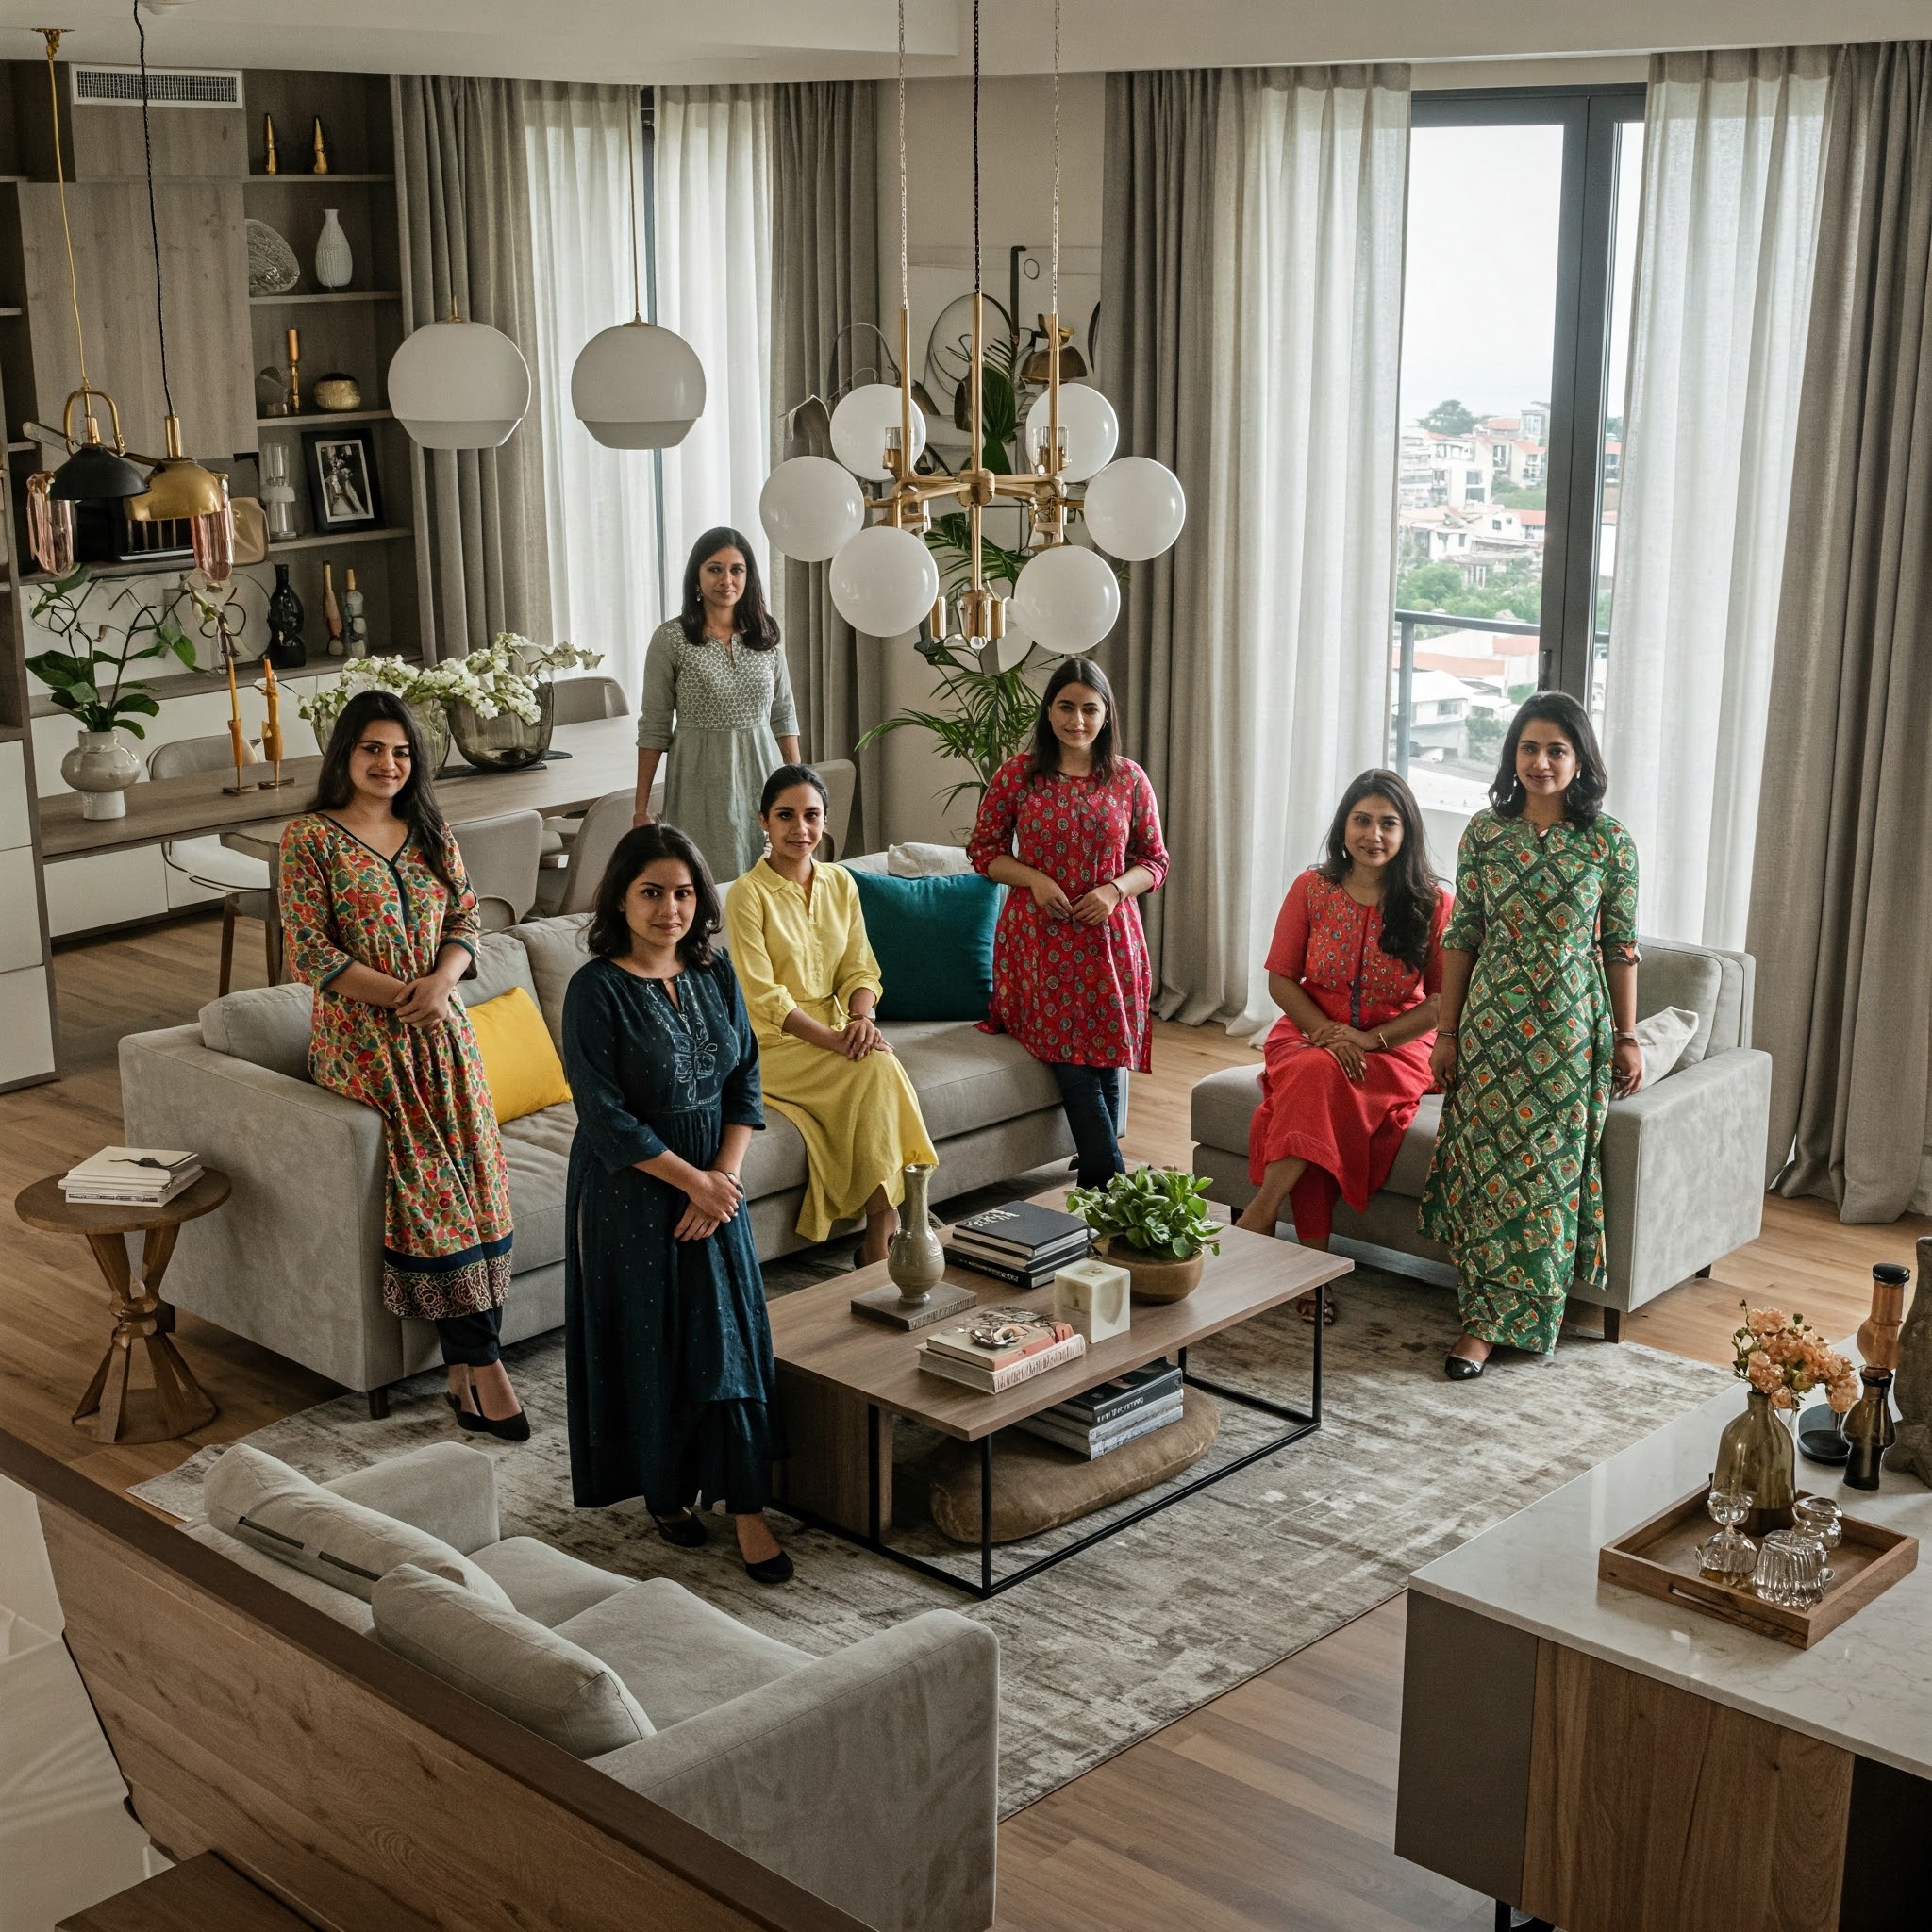
As some of you may be aware, we recently moved our Interior Design Centre to an Independent Villa in the middle of JP Nagar in Bangalore. This was a 40-year-old house that has now been refurbished making it a showcase of good Interior Design practices for customers. The refurb project, spread well over 5 months, taught us many new things about renovations and how best to approach them. Home renovation is an area that most customers struggle with, I hence thought it best to pen down our experience and our learnings so that others benefit from it. So here goes.
1. Timing: When, or Rather, when NOT TO renovate:
If it is an independent home, bungalow or a Villa (I will call all 3 as Villa in subsequent paragraphs) that you are renovating then time the work to avoid the rainy season. The frequent power cuts during the rains, the difficulty of the workers getting to-and-fro and the dampening mood of the rain affects the overall rhythm of the work. This is not as much an issue with apartment renovations where one can shut the windows and the work goes on as usual. The power backup in apartments is also a big help.
In addition, one of the first things that needs to be planned in Villa renovations is the water proofing of the roof and walls and that is best done in bright and sunny weather. The same applies to wall painting and wood polishing – damp weather is, well, a dampener in general and best avoided.
2. Surprise!!! Are you Ready??
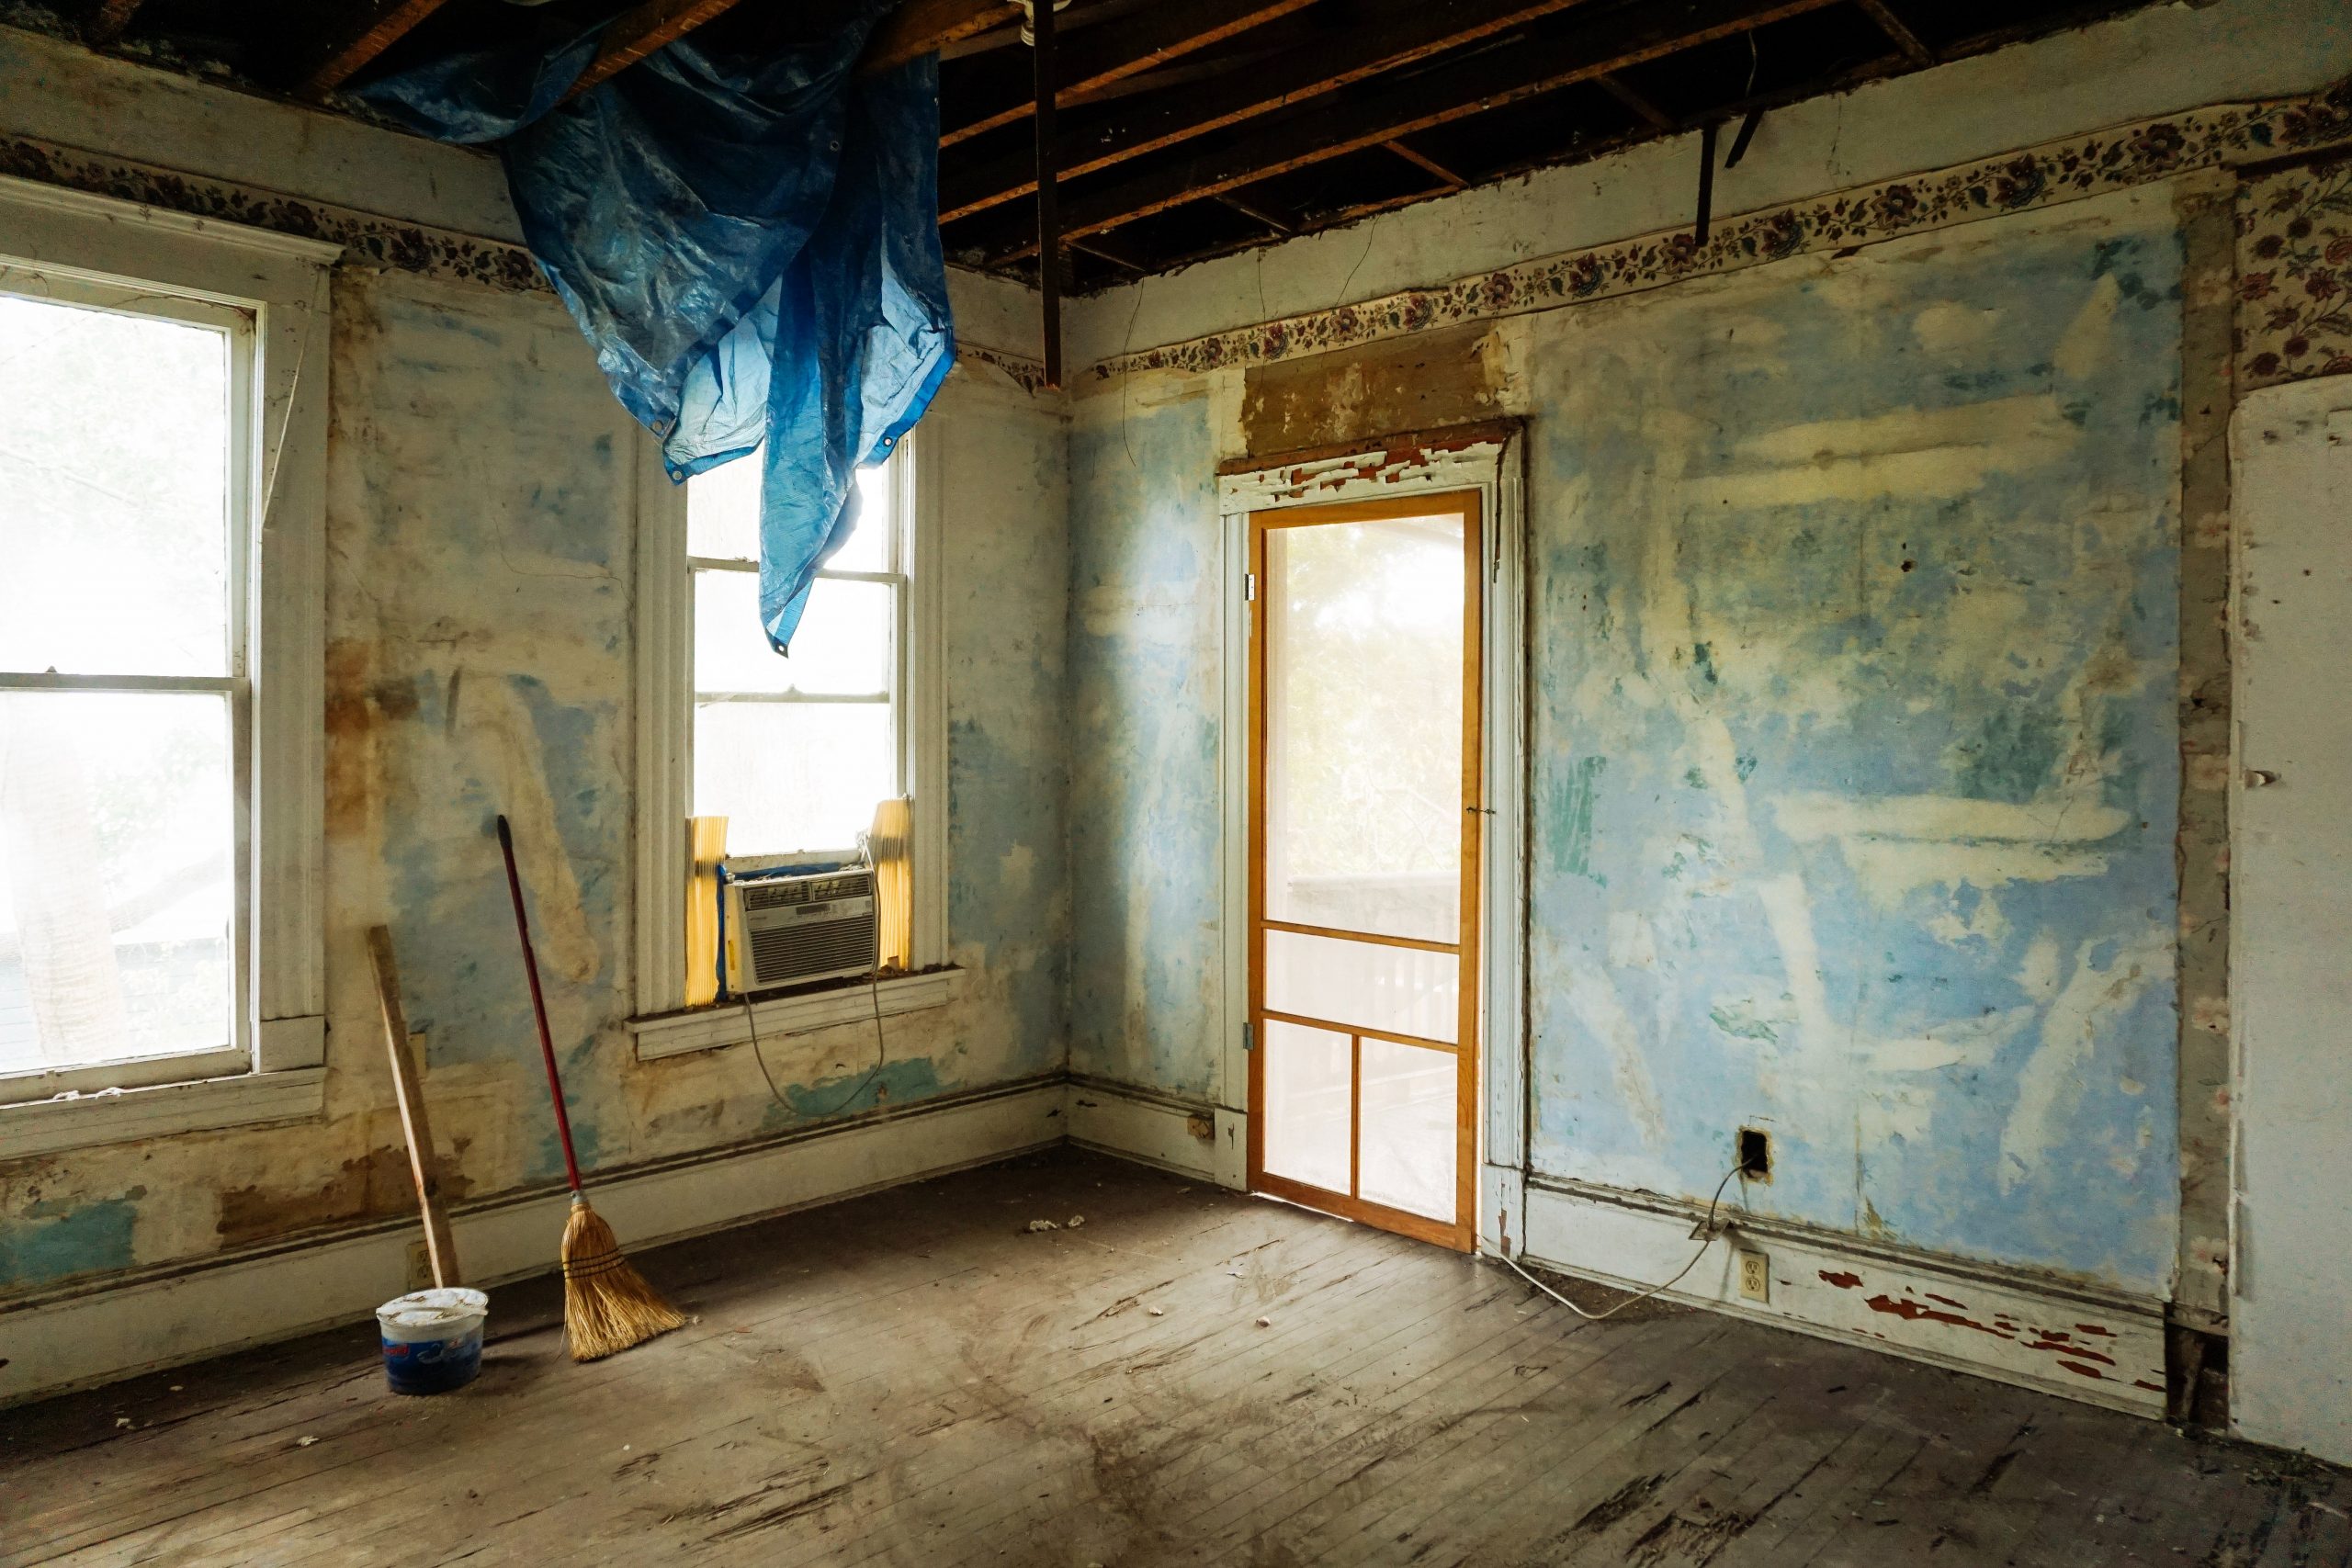
Be ready for major surprises that lead to cost, scope and time over runs. Just to give you an example – just after having finished renovating the bathroom when we did the first trial, we found that the complete drain pipe that was running outside the house was blocked and beyond repair. The whole thing had to be excavated out and changed. Then, one of the old pipes started leaking and dampened the wall messing up the wood panelling on the other side of it. The panelling itself came with its own set of surprises – we found the wall not strong enough to take the screws and nails of the panel – it had to be strengthened with fresh plaster just to make it ready. We also tried running electrical wires from within the existing ducting for the additional lighting points we needed, only to find these blocked leading to a fair amount of additional electrical work than originally planned. The lesson – always plan additional resources – be it time, material or cost
3. Do not Over Design or Under Design & don’t forget the Core
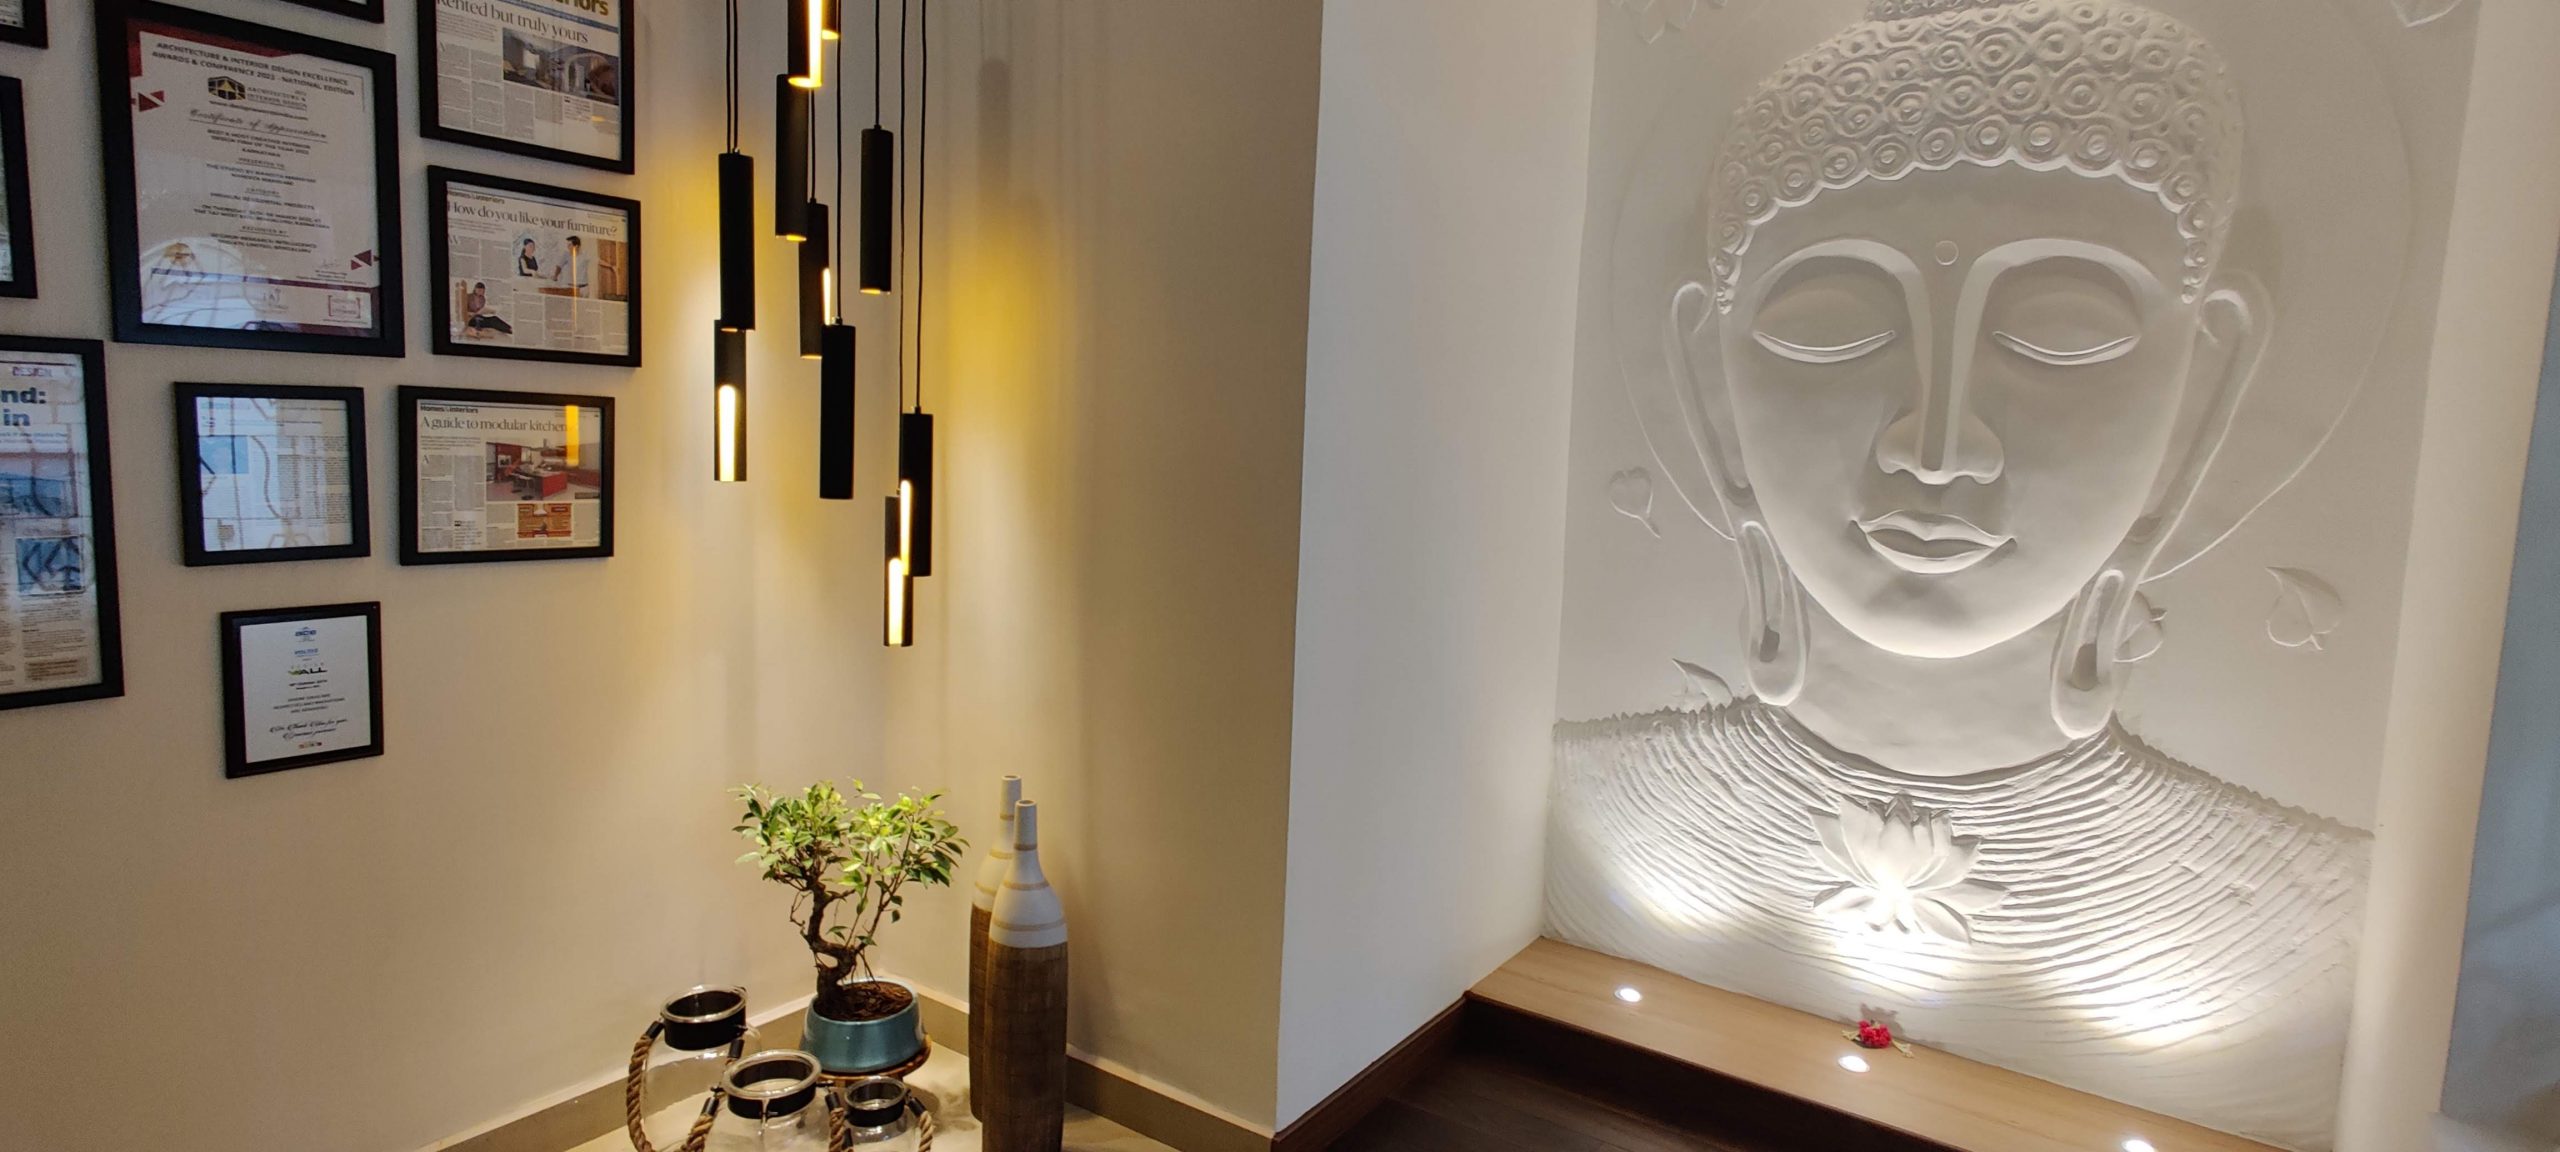
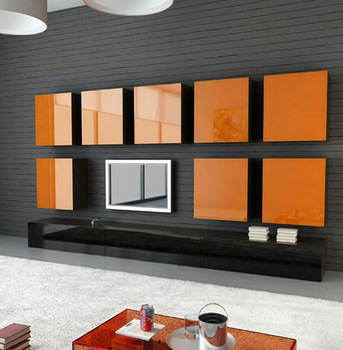
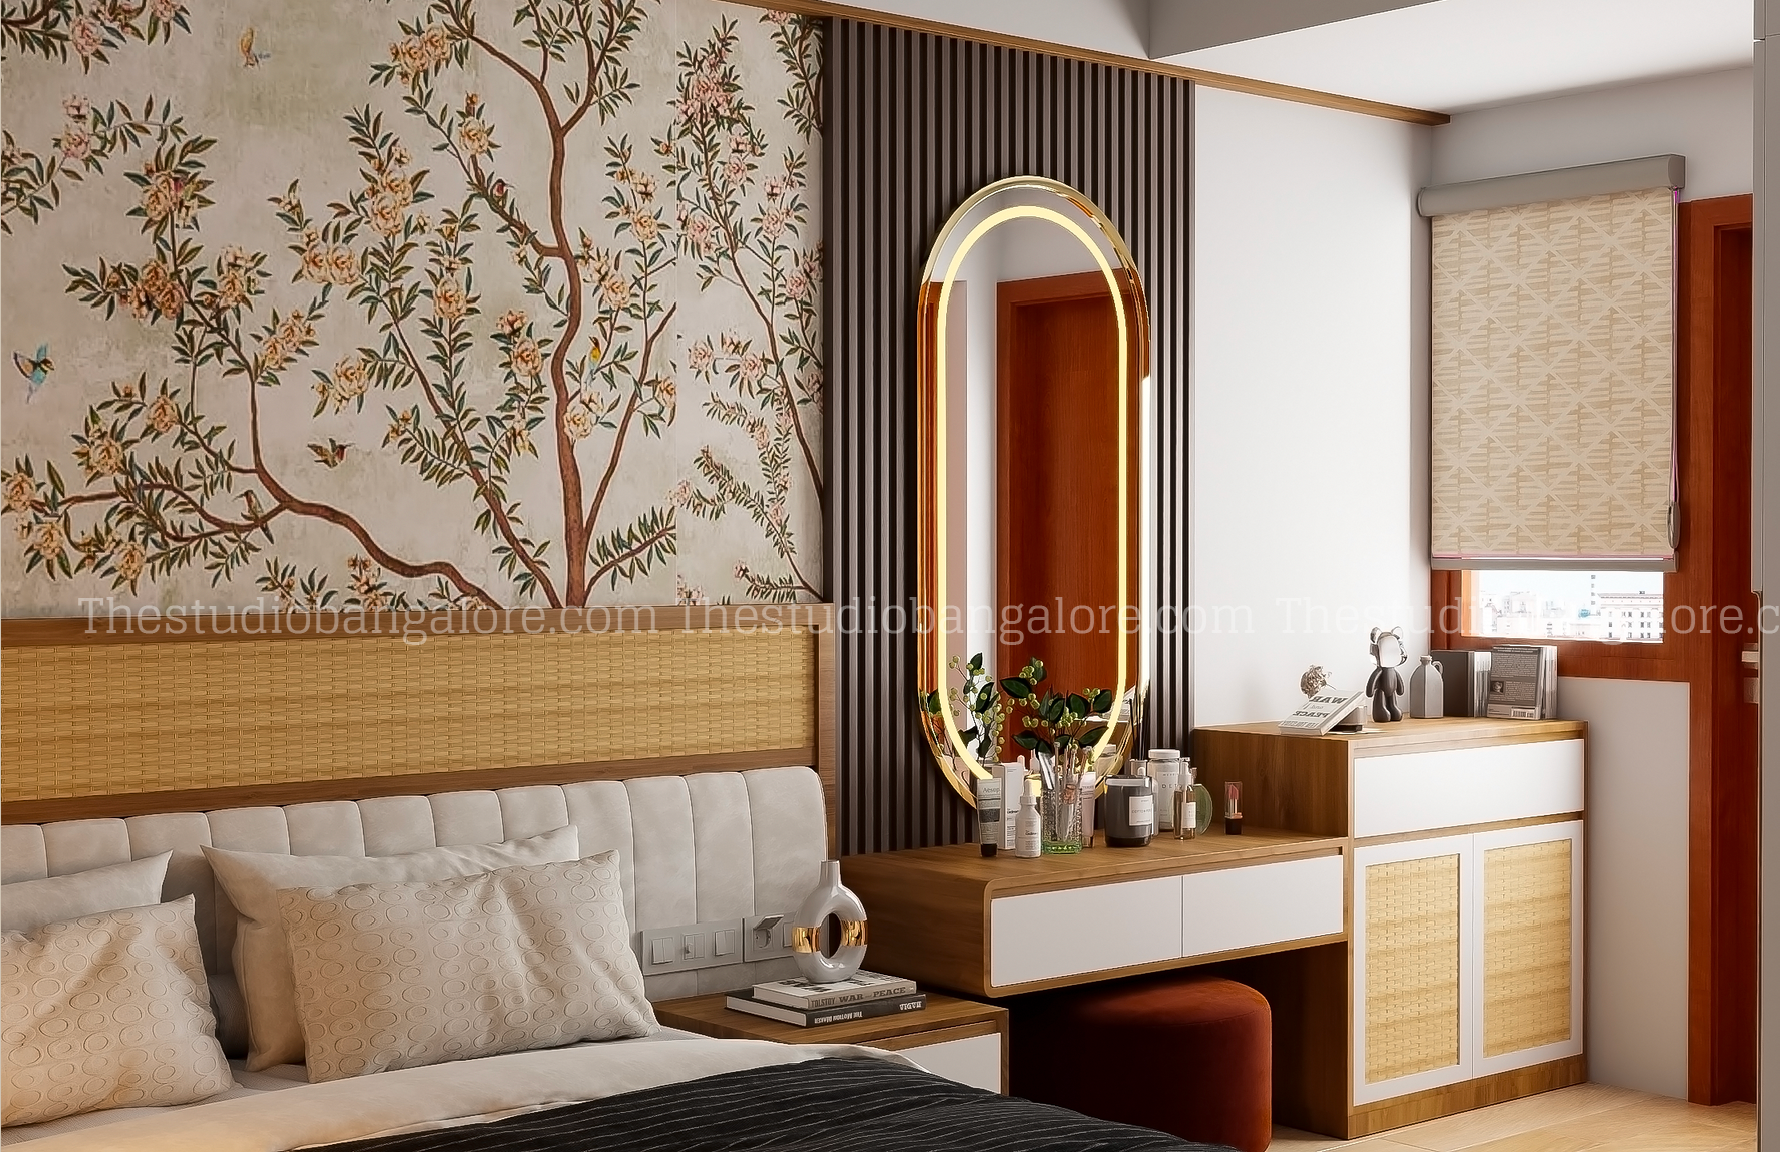
The underlying structure of the house, however old or dilapidated it may be, is core to the design that should be planned on it. It is therefore wise to do things in a theme or a manner that dovetails into the core structure than one that conflicts with it. Dramatic deviations may mean redoing a lot of the structure itself else the design and the structure will not seamlessly merge. While this is an intangible, it is however one of the most important aspects that needs to be wisely planned and executed to get a natural flow in the design and the aesthetics of the place. Just to give you an example – our place has fairly large windows in front – these had an intricate grill design, however the lack of maintenance clearly showed on the windows. Our first take was to cover the windows with a wooden border and glass, hiding both the original windows and the grill and giving the front a contemporary modern look. We designed and rendered it on the computer and it looked great. Then we zoomed out to visualise the window design in context of the entire building and suddenly it lost its sheen. We redid the render with the original large windows – cleaned and restored and with a few planters and colour / texture changes and THAT came out far better. The team spent the next 3 – 4 days restoring the windows as much as possible to their original form and that’s how they stand now at the design centre today. The same thought around bringing seamlessness of the structure and the design theme is true for the wainscot design on the inside walls, the shape & choice of light fittings, the choice of murals & decor and the false roofing & general lighting that has been done inside
Exteriors – A different ball game altogether
Interiors is one thing, the design of the exterior of a Villa is a different ball game altogether. Design of the elevation and exterior façade therefore has always been a separate field in Design, different from “Interior” Design. In Villa refurbs it plays a major role since a well-designed façade and lighting can give life and positivity to a Villa from the moment one sees and enters it. For exterior refurbs there are a number of options available starting from Stone tiles, ACP, HPL to the regular material like textured paint etc. Contemporary design also requires some bit of greenery to show on the outer façade. Designing and visualizing the same on the computer definitely helps in taking the right decision on the facade – and it does take more than the normal number of iterations due to all the different options available
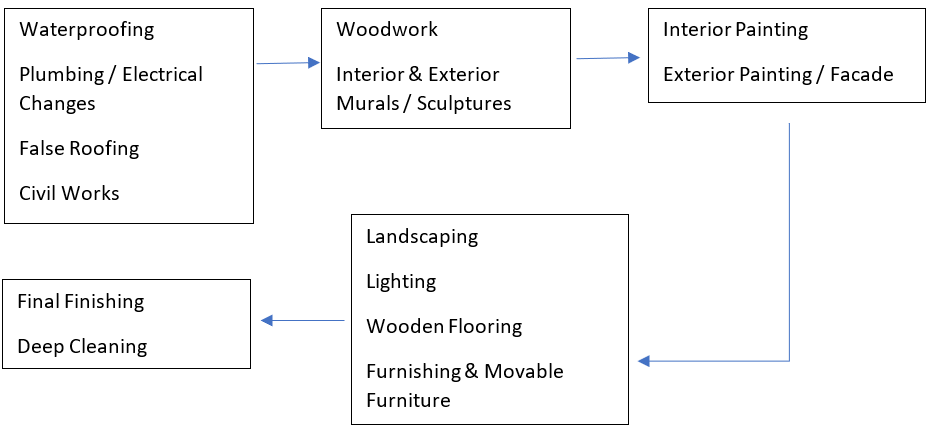
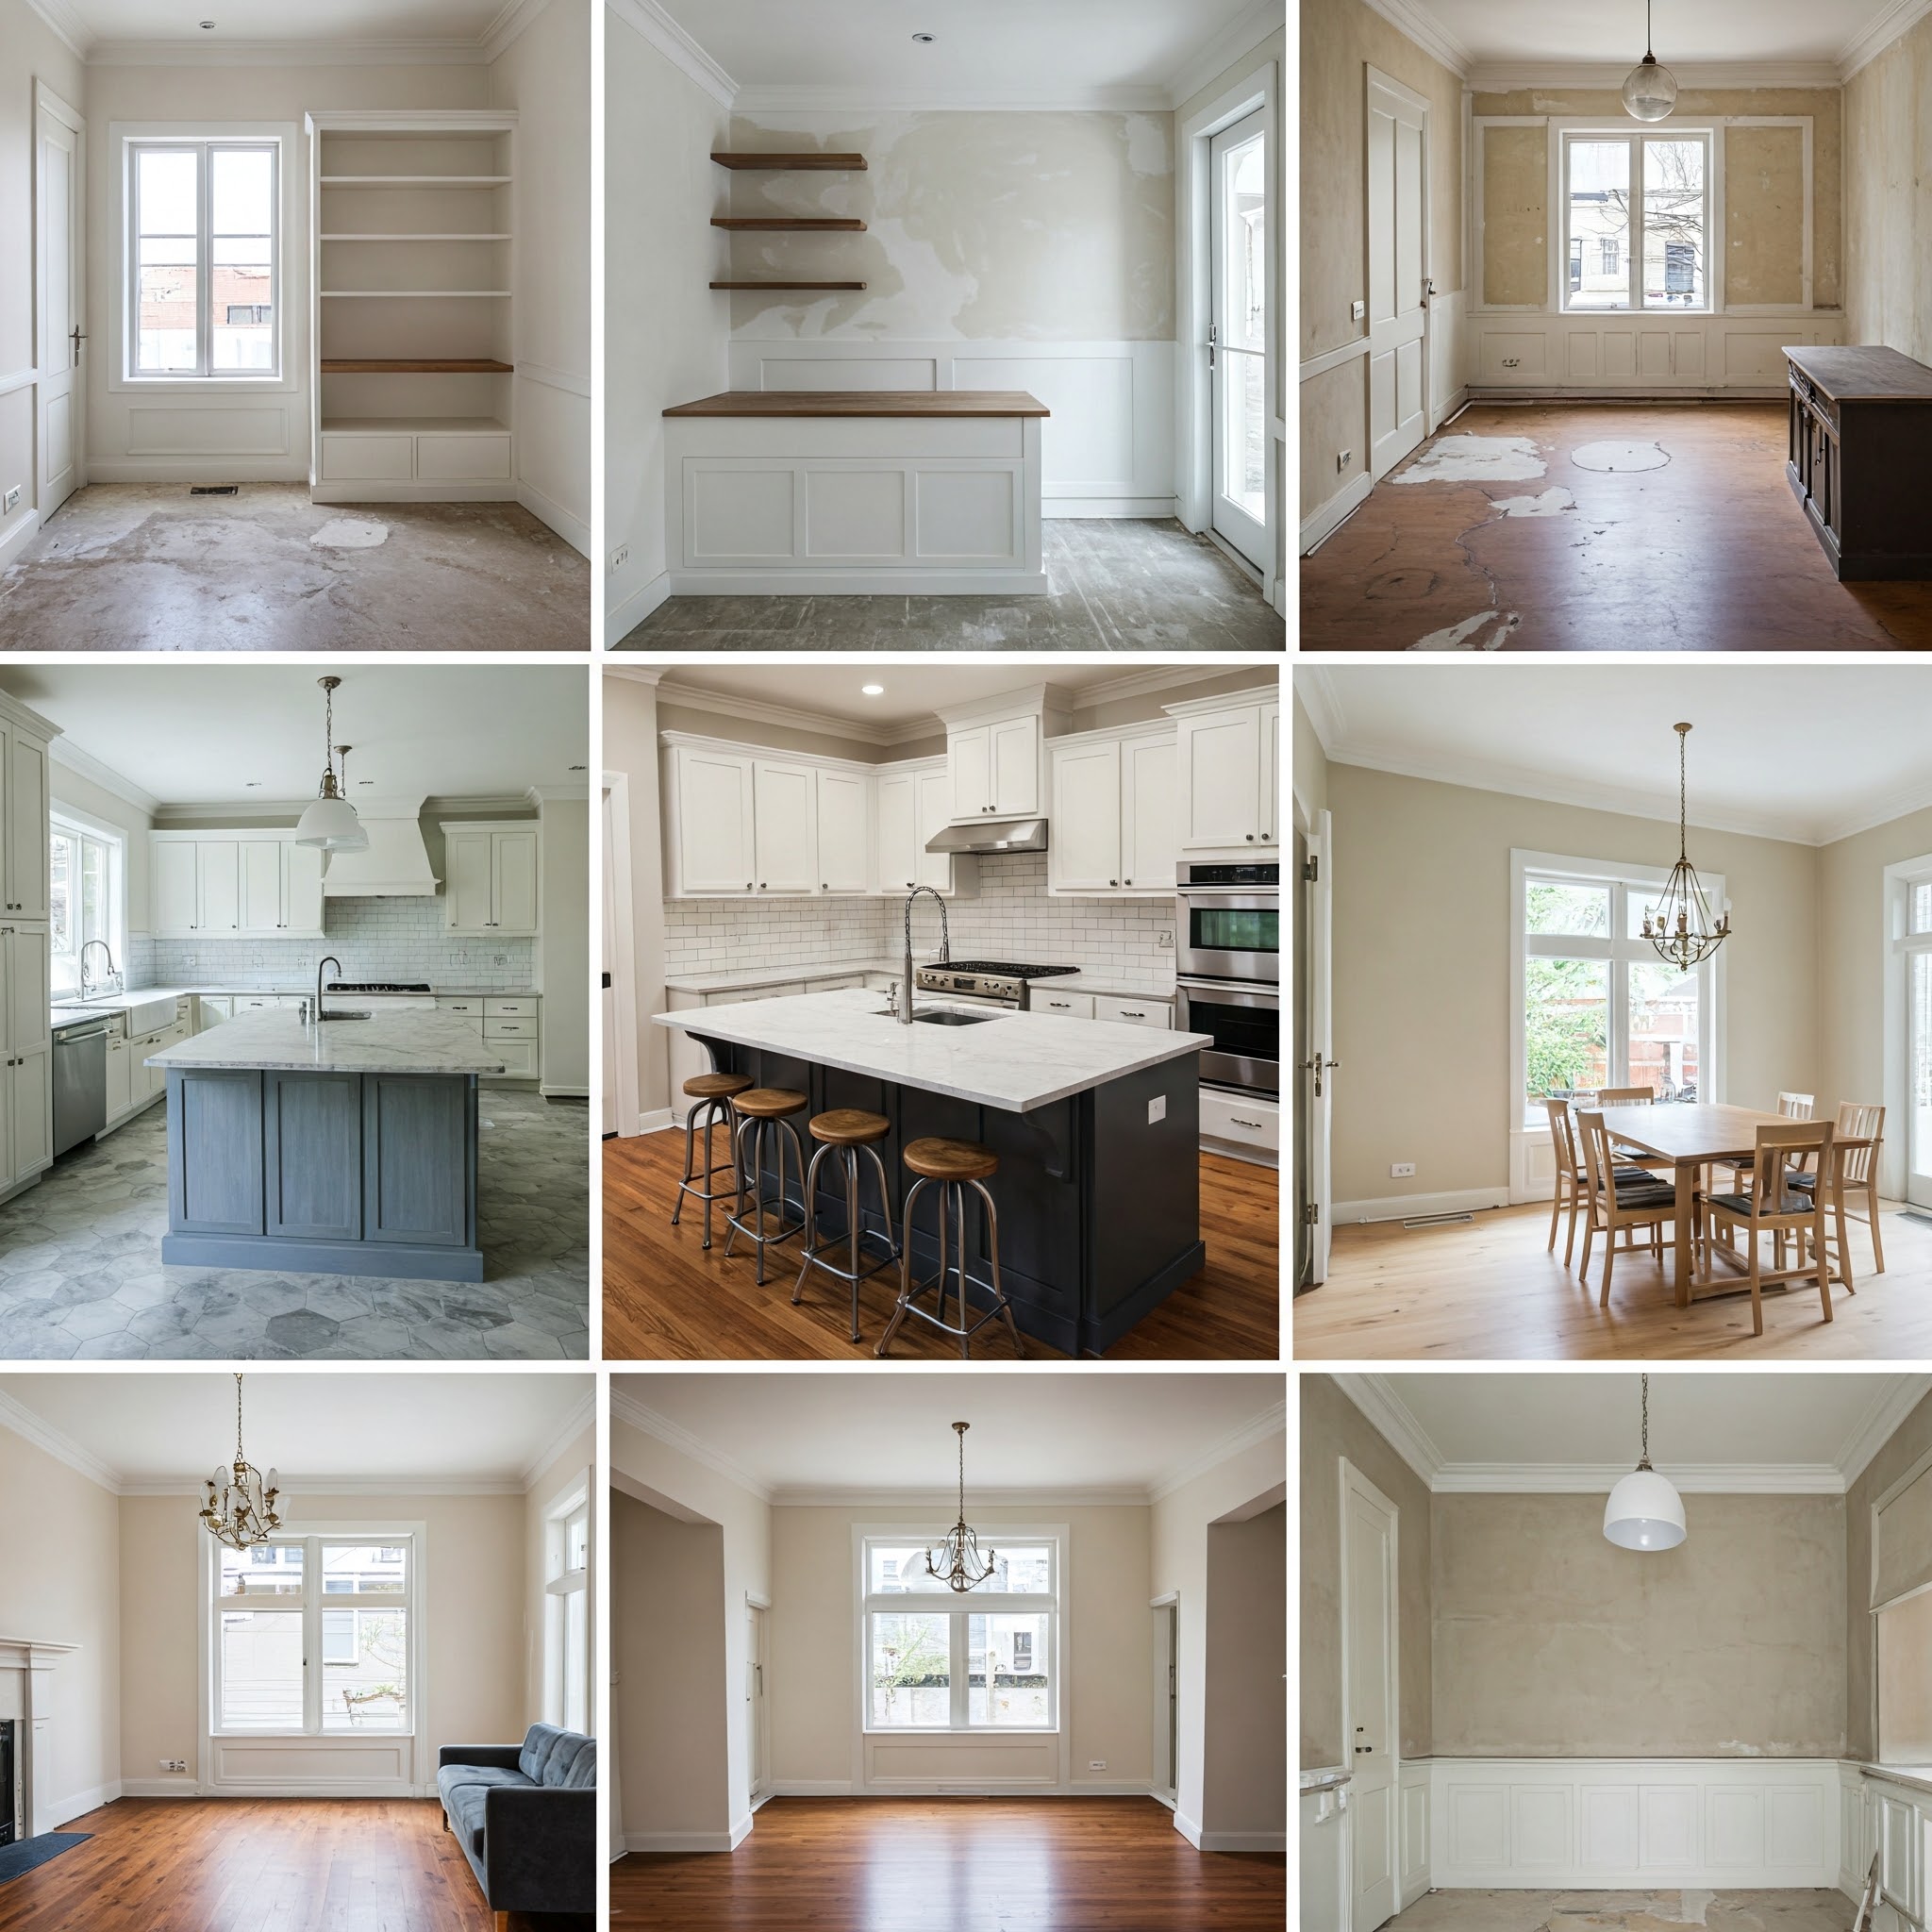
Work Sequence
Before I sign off, I guess some tips of the work sequence to be followed will definitely be helpful for those planning their renovations. The sequence below should work well for most projects
Do trust you find this useful, as always shall welcome your comments & feedback
Signing off now
Nandita


6 thoughts on “The Home Renovation Project: Learnings from doing up The Studio’s Own Interior Design Centre in Bangalore”
Need to renovate my 2bhk to 3 bhk. This needs civil work and interior. Pls contact if you are the right contact.
You can contact on sales@thestudiobangalore.com
Hi Team
Could you please let me know your service locations
Will you provide your service to Pin code-584101
Hi Chetan, We can provide services in Raichur (584101) for Interior projects over a certain minimum threshold. You can contact us on sales@thestudiobangalore.com to discuss
Hi, We are looking for wall designs for our home.. Is it set u able for PIN code – 560016.
You can send details of your requirement to sales@thestudiobangalore.com and someone from the team will be able to help out